

Adding a Postgis layer
This task shows how to add a PostGIS layer into GeoServer:
Navigate to the GeoServer Welcome Page.
If you are not already logged in, on the Welcome page locate the Login form located at the top right corner, and enter the username “admin” and password “geoserver”.
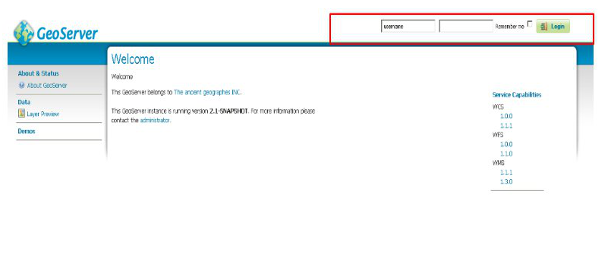
GeoServer Login
Click the Add stores link.
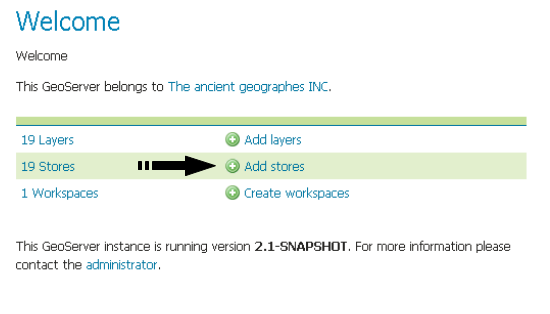
Add stores link
Select the PostGIS link and click it.
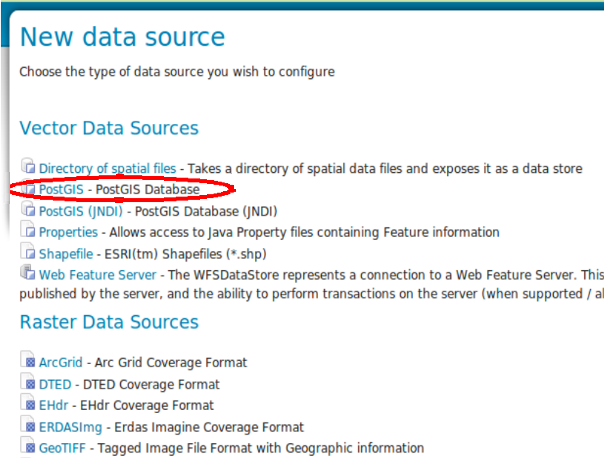
Add new PostGIS Store
On the New Vector Data Source page fill the following parameter:
- Data source name, ‘shape’
- database, ‘shape’ the name of the database created in previous workshop step.
- user, ‘unredd’ the name of the user database owner.
- password, ‘unredd’ the user password.
and click Save.
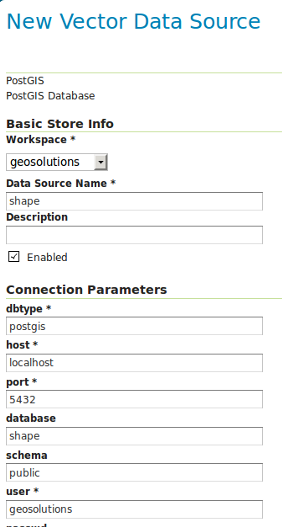
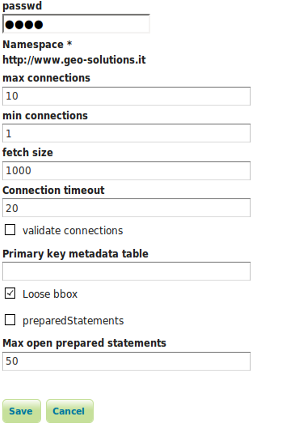
Setting dtabase connection parameters
After saving, you will be taken to a page that lists all the layers in the PostGIS database and gives you the option to publish any of them. Click Publish.
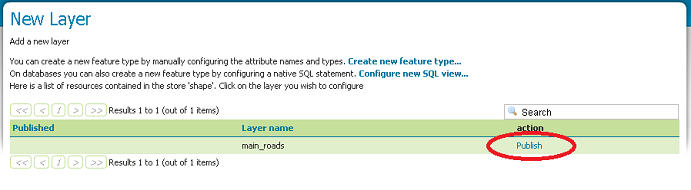
Publishing a layer from the PostGIS table
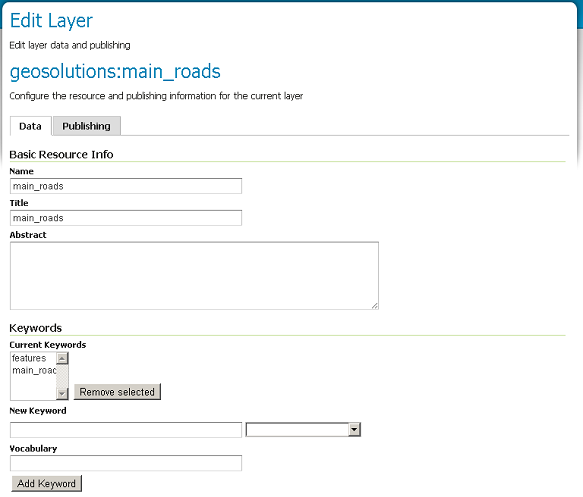
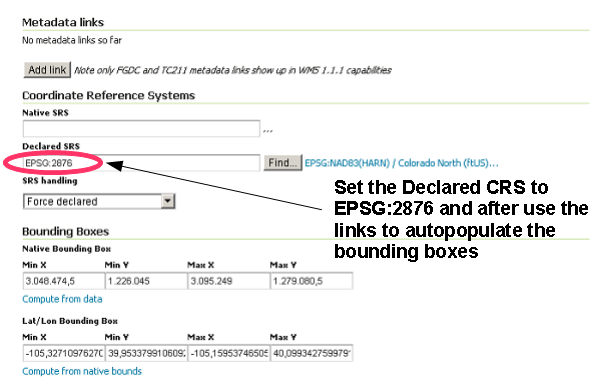
The Name and Title fields should be automatically populated. Fill the Declared SRS field to set the Coordinate Reference Systems and generate the bounds for the layer by clicking the Compute from data and Compute from native bounds buttons in the Bounding Boxes section
Populating fields and generating the layer bounding box
Scroll to the bottom of the page, notice the read only Feature Type Detail table and then click Save.
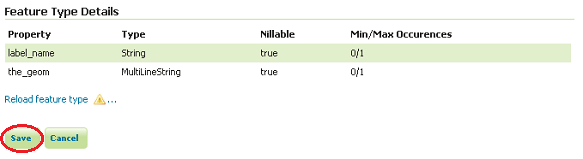
Submitting the layer configuration
If all went well, you should see something like this:
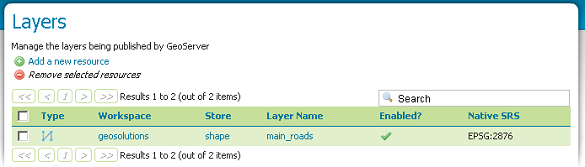
After a successful save
At this point the PostGIS layer has been added and is ready to be served by GeoServer. Use the layer preview to view its contents, filtering on the ‘main_road’ name.